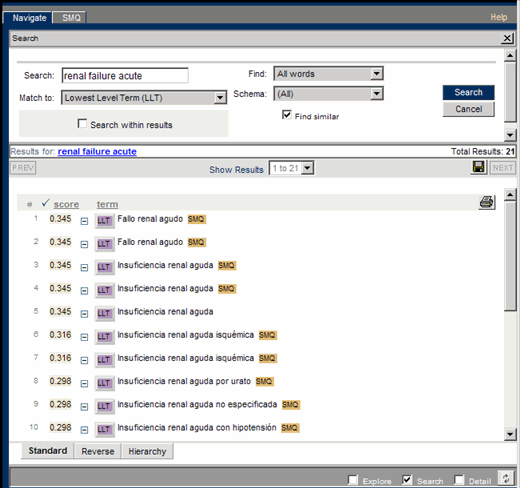
MedDRA Web-Based Browser3. PRINTING AND EXPORTING RESEARCH3.1 PRINTING TERMINOLOGY SEARCH RESULTSUsing a previous example from the Navigate tab, a search was completed in the term renal failure acute and to limit the number of terms returned, in the Search pane the Match To: field was set to <Lowest Level Term (LLT)> as illustrated below.
Figure 3-1. Terminology Search Results for Print or Export By pressing the <Print> icon (
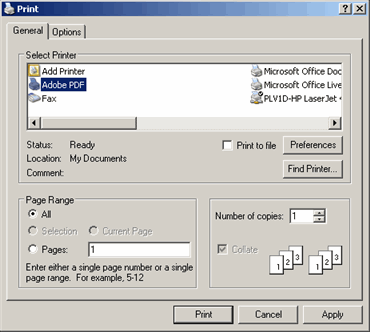
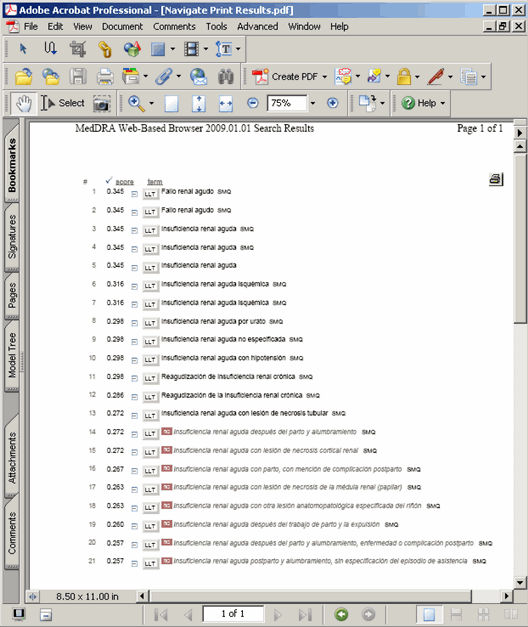
Figure 3-2. Print Dialog Window All browser print functions provide the option of printing to user printers normally available for other application print functions, setting properties such as number of copies and page layout (portrait or landscape orientation). These options are accessed from any print function mentioned above by clicking on the print function that opens a print dialog screen. The printed results of this search are illustrated below.
Figure 3-3. Navigate Tab Search Print Results 3.1.1 Exporting Terminology Search ResultsUsers can save terminology search results as delimited files that can later be imported in other user host software platforms. From the search described in Section 3.1, click on the <Save> icon (
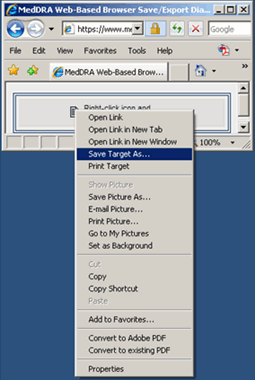
Figure 3-4. Delimited File Dialog Display By right clicking on the icon as instructed in Figure 3-4, users specify how they want to save the target delimited file. In the example below, the target file is going to be saved as a file so the option
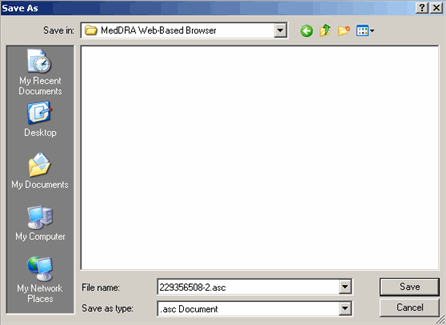
Figure 3-5. Save Target File as a File Users are then presented with a normal Save As dialog window and users can select where the delimited file will be stored as illustrated below.
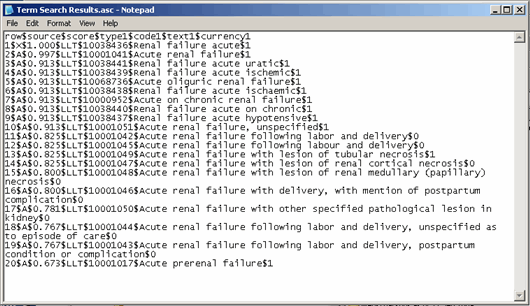
Figure 3-6. Save As Dialog Window An example of a delimited file from the search results in this example is illustrated below.
Figure 3-7. Terminology Search Results Delimited File 3.1.2 Printing and Exporting SMQ Search ResultsThe print and export icons and functions work in a similar manner for SMQ print and export functions. Staying with the same search as described in Section 2.4.3.3 where a search was conducted on the term renal failure acute and the Match To: field was set to
Figure 3-8. Sample SMQ Search Print Result
Figure 3-9. Sample SMQ Search Delimited File
|